

As a pretty novice cake decorator I find that I can relate to people who shy away from complicated recipes. However, I feel like I am gaining confidence with everything I decorate and how effective it is building up simple shapes to create a picture (although I do marvel at people’s piped creations and beautiful sugar craft).
Anyway, these Christmas puddings turned out beautifully considering how simple they were to decorate. The key seems to be patience in letting cakes cool and layers set before diving in with the next step.
These are brilliant if you want to feel festive but don’t like Christmas pudding, or you want a massive chocolate hit. Obviously they’re pretty far in the treat category, but its Christmas and they look so cute!
To make 12 Christmas Pudding Cupcakes you will need:
For the cakes
3 large eggs
170g caster sugar
170g butter
155g self raising flour
15g cocoa powder
To decorate
Chocolate spread
A small ball of green fondant icing
150g white chocolate
Red chocolate beads or red piping icing for the holly berries
Preheat the oven to 180°C, and line a muffin tray with 12 cake cases. Using an electric whisk beat your eggs and sugar until they leave a trail of mixture over the surface. Sift in your flour and cocoa powder and fold in.Melt your butter and fold in, until your mix is smooth. Separate the mix into into the 12 cake cases (try to do this pretty evenly) and bake for around 12 minutes, until the cakes have firmed up. Set aside your cake to cool.
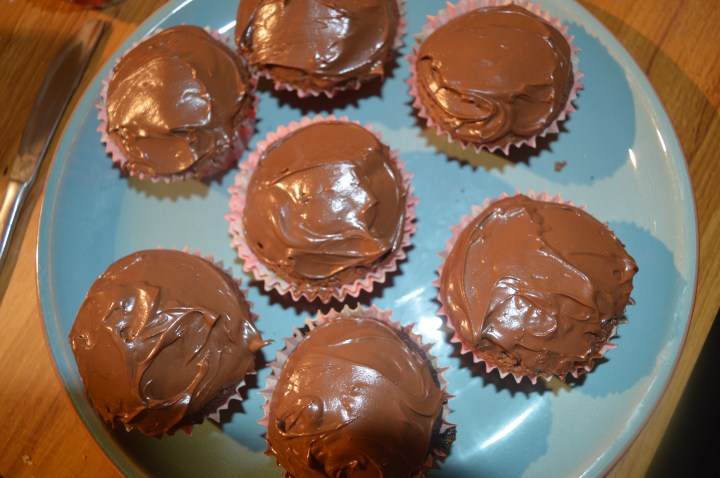
Warm your jar of chocolate spread for about 20 minutes in the microwave to loosen it then spread a thin, even layer over the cupcakes. Leave this for a few minutes to firm.
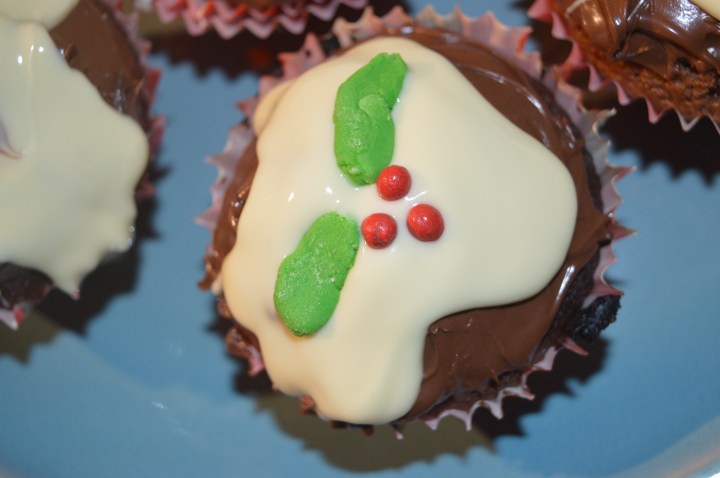
Melt your white chocolate and use a teaspoon to dollop (technical term) over each cake. While the chocolate is setting slightly, shape your fondant icing into holly leaves (mine were the least pointy holly leaves in the history of foliage). Once the chocolate is less runny arrange the leaves and chocolate beads (if using) into a festive holly arrangement. If using red icing wait until the chocolate has set, then dot the red in a festive manner.

I made mine for the cake sale I mentioned in my previous post and I got a little surge of excitement every time I saw anybody buying one of these cakes!
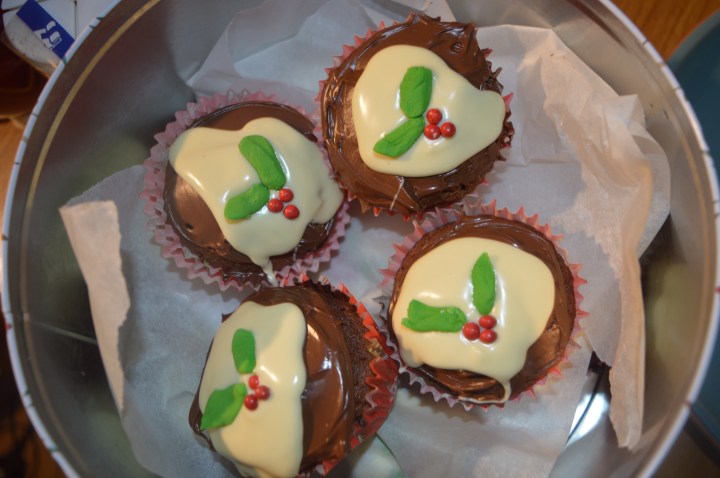
When you store these I would recommend putting some greaseproof paper between cake layers to prevent anything smudging. (Obviously wait until everything has firmed up before doing this part).


Beautiful!!!