

 I should possibly thing of more whimsical names for my cakes. However, I’m not sure its quite me to call this something like “Fingerlicious chocolate cake” or “Chocolate decadence”. Anyway, this cake tastes dreamy, looks impressive and can be made by even the least confident of bakers. The only 2 pieces of advice to be given when making this is 1. make sure the sponges are cool prior to decoration and 2. don’t eat the chocolate fingers before you’re finished decorating. You might run out.
To make your own version of this cake you will need:
3 large eggs
170g caster sugar
170g butter
155g self raising flour
15g cocoa powder
To decorate
50g dark chocolate
300g icing sugar
250g marscapone
Chocolate fingers (I used 2 1/2 packs but you may need more)
Any sweets you fancy – I used M&Ms, Magic Stars and silver balls
Preheat the oven to 180°C, cut some baking parchment to the size of your cake tins to line them. Using an electric whisk beat your eggs and sugar until they leave a trail of mixture over the surface. Sift in your flour and cocoa powder and fold in.Melt your butter and fold in, until your mix is smooth.
 Separate into two cake tins and bake for around 12 minutes, until a skewer comes clean when you poke in into your cake. Set aside your cake to cool.
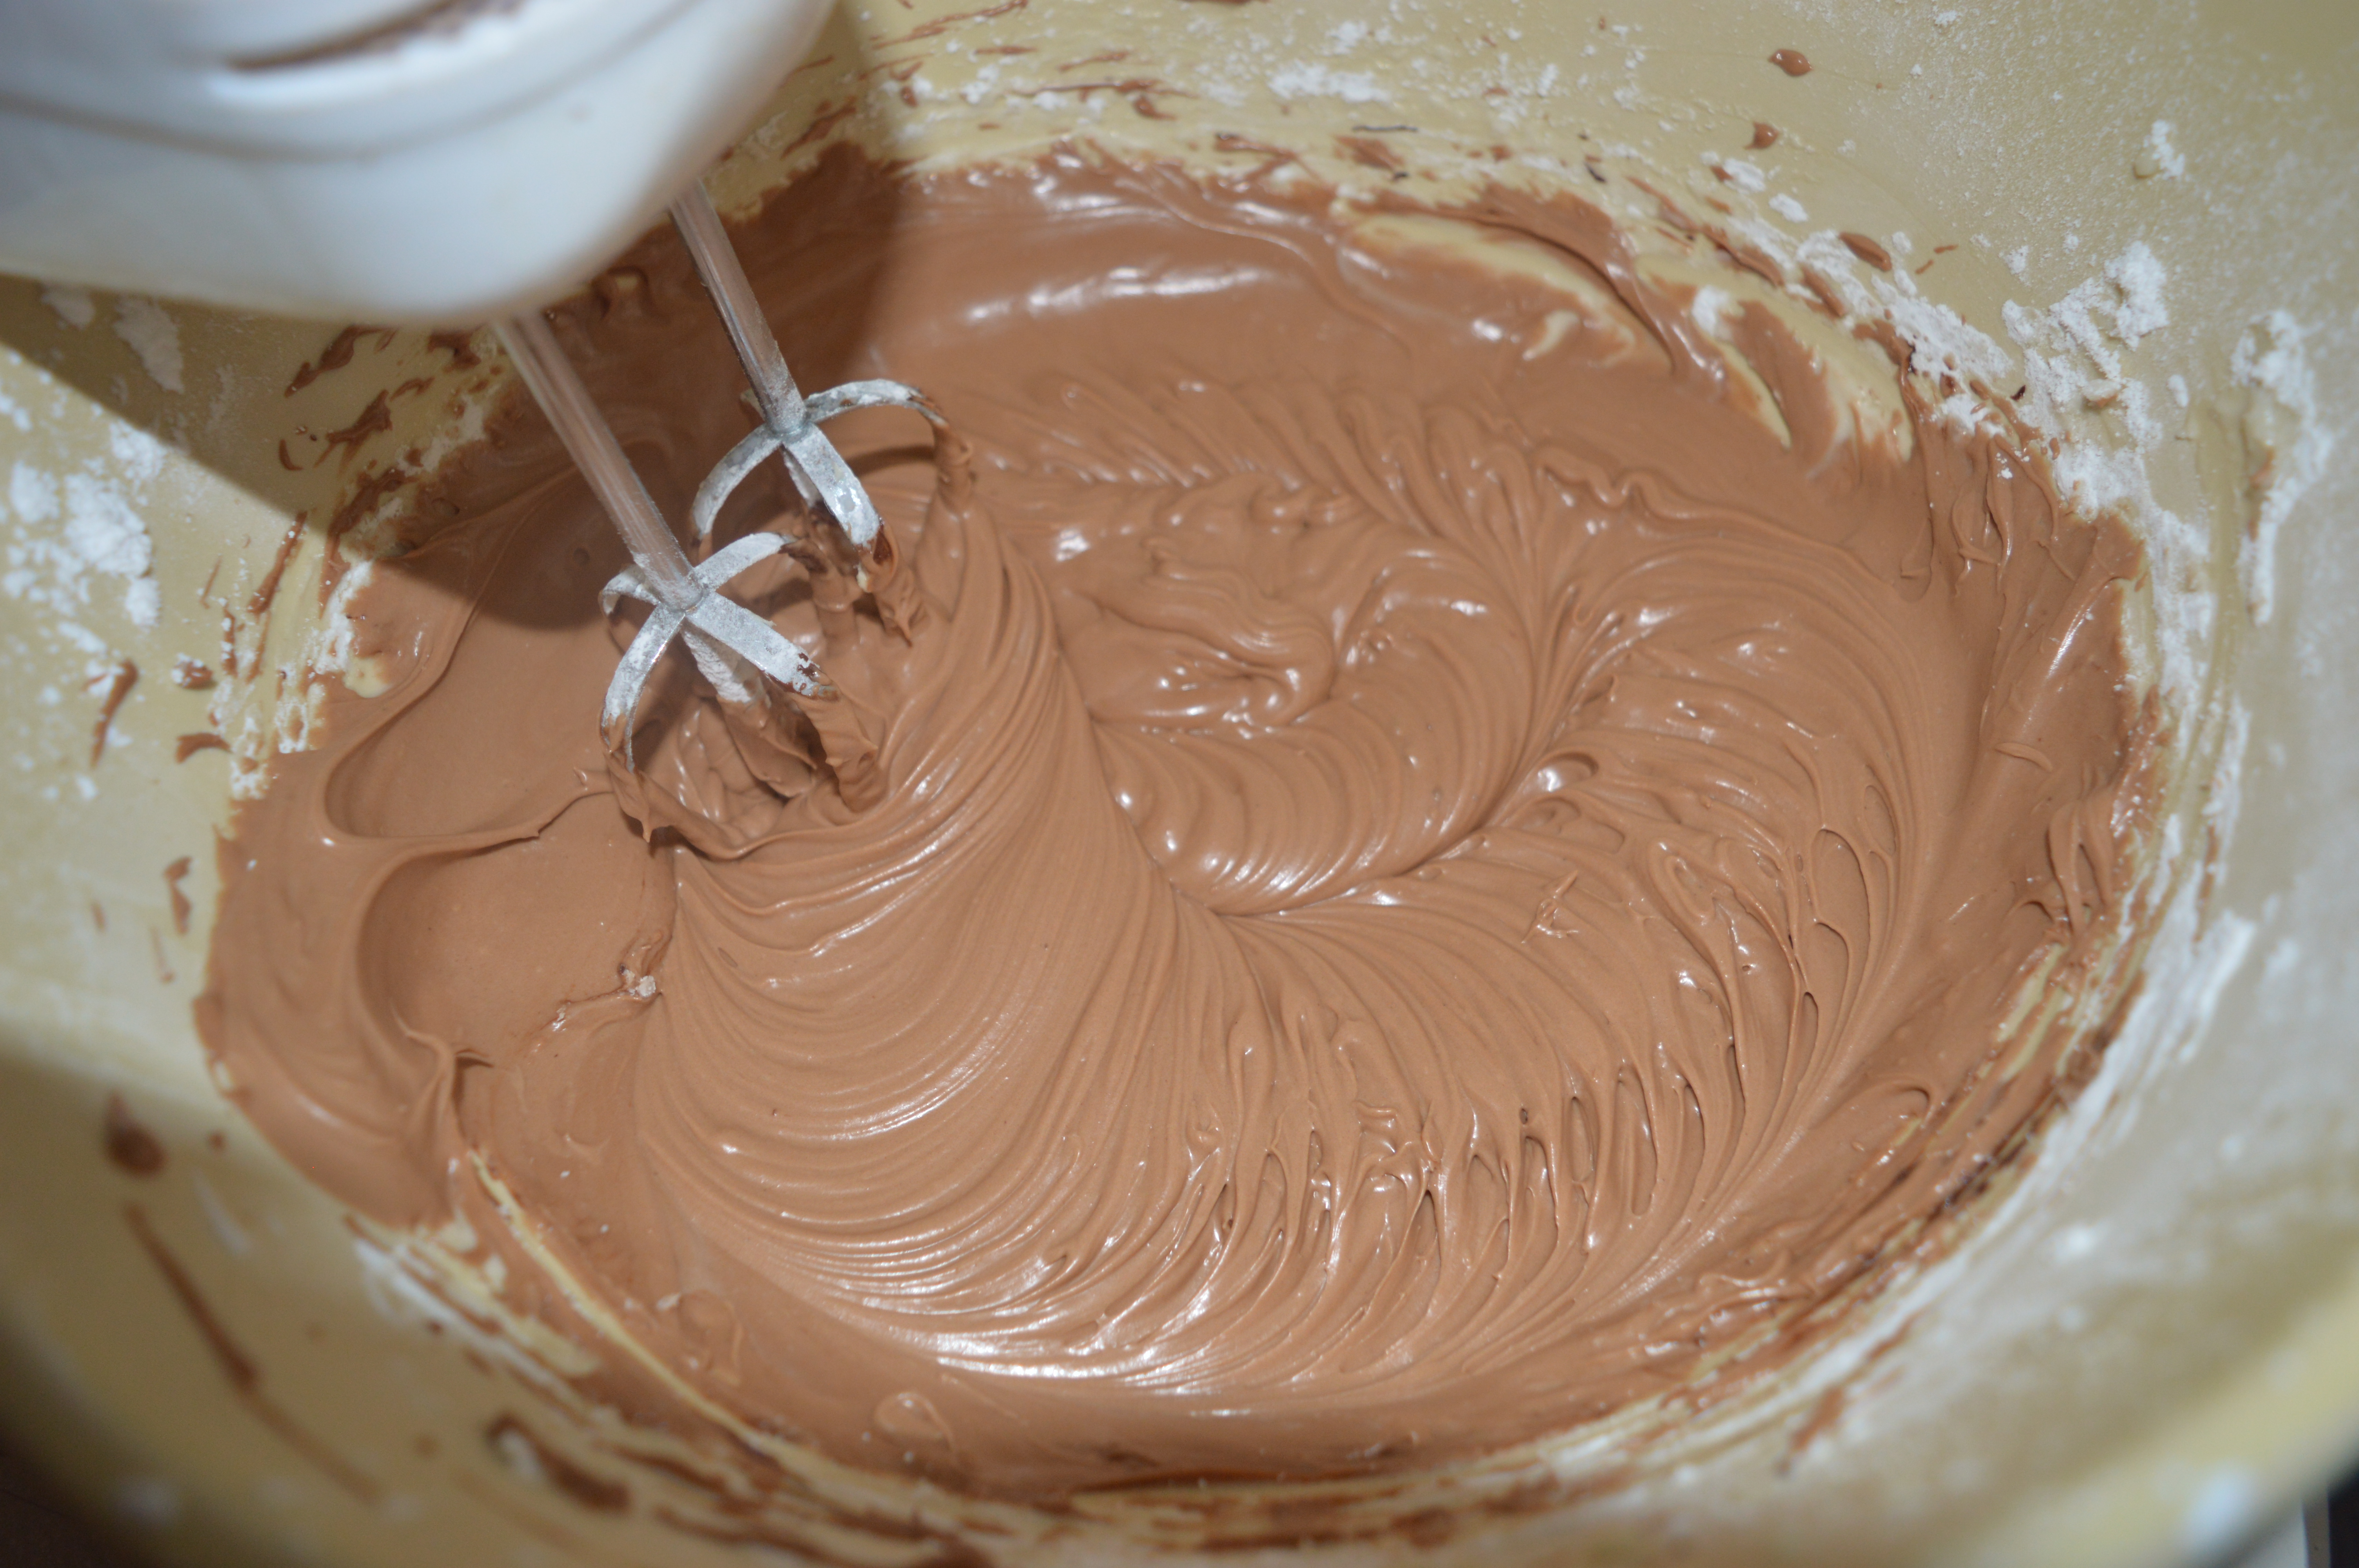
Make your marscarpone icing by whisking together the icing sugar and marscarpone. Melt your chocolate and slowly whisk it into the mix.


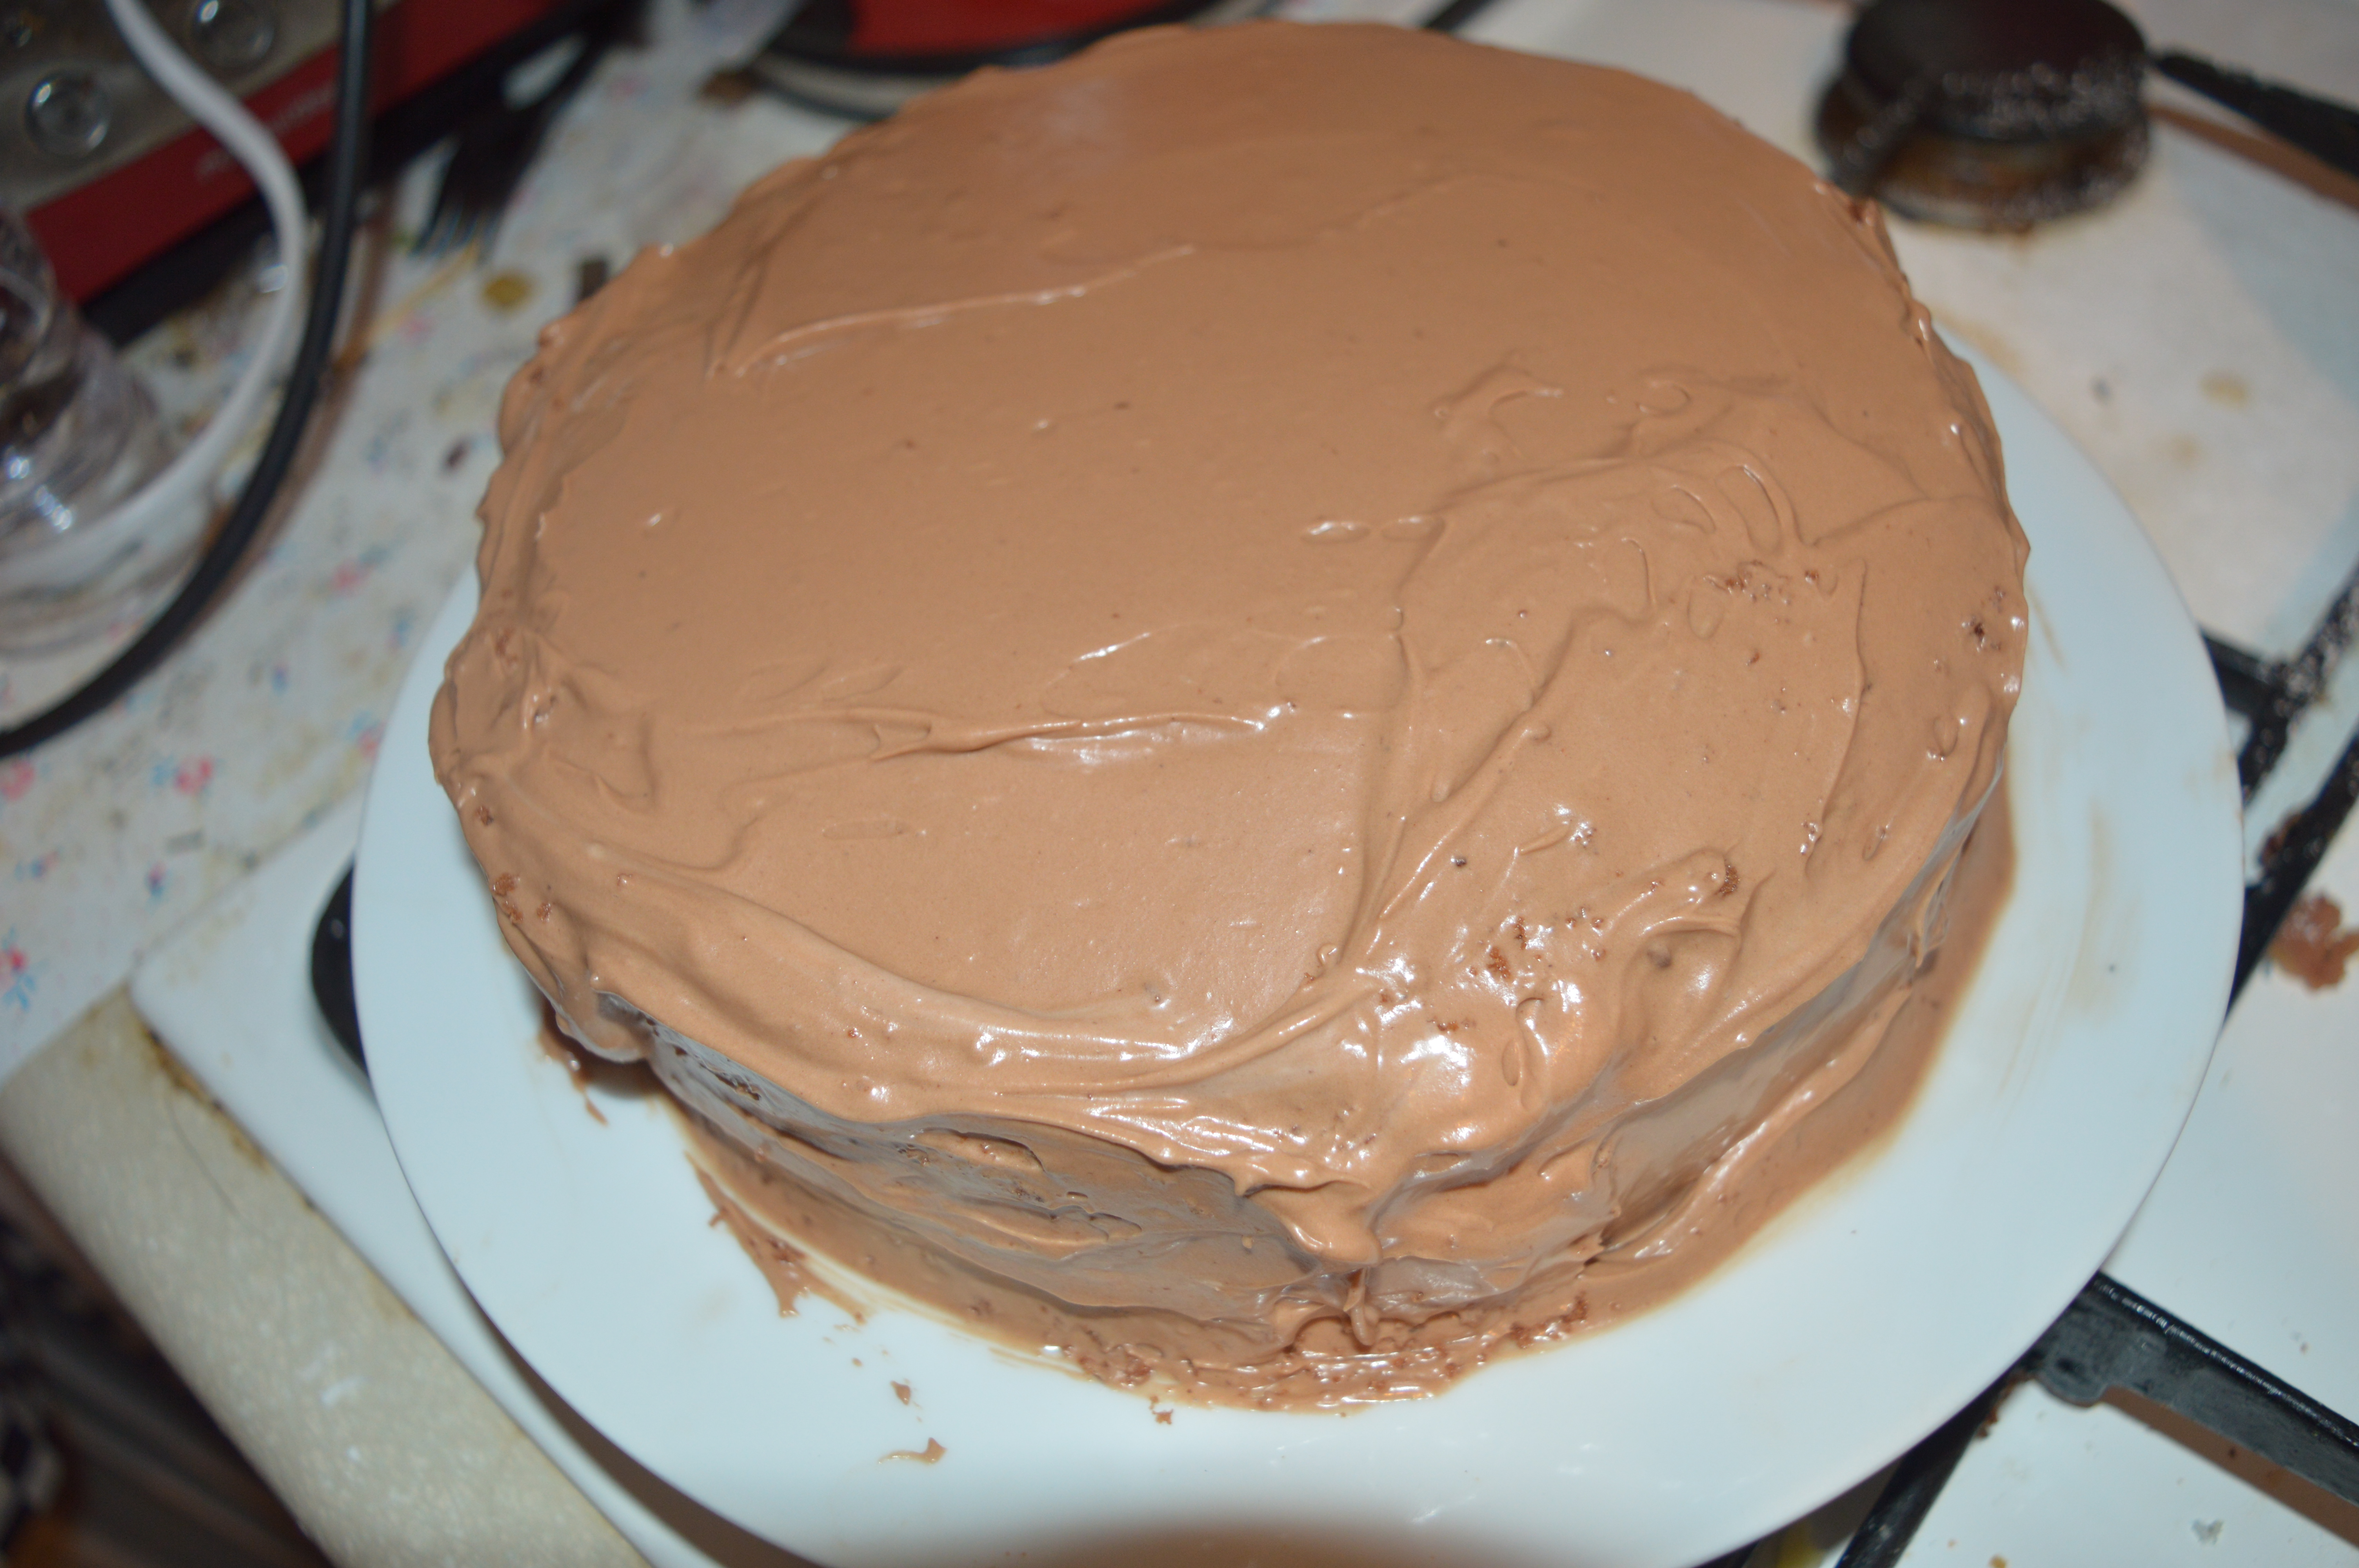
 Sandwich together the 2 sponges using some of your icing. Use a pallet knife to cover your cake in a smooth layer. You’ll have made too much icing, but I freeze any excess for future baking (one day I plan to make cupcakes with a range of icing on them to use them up).

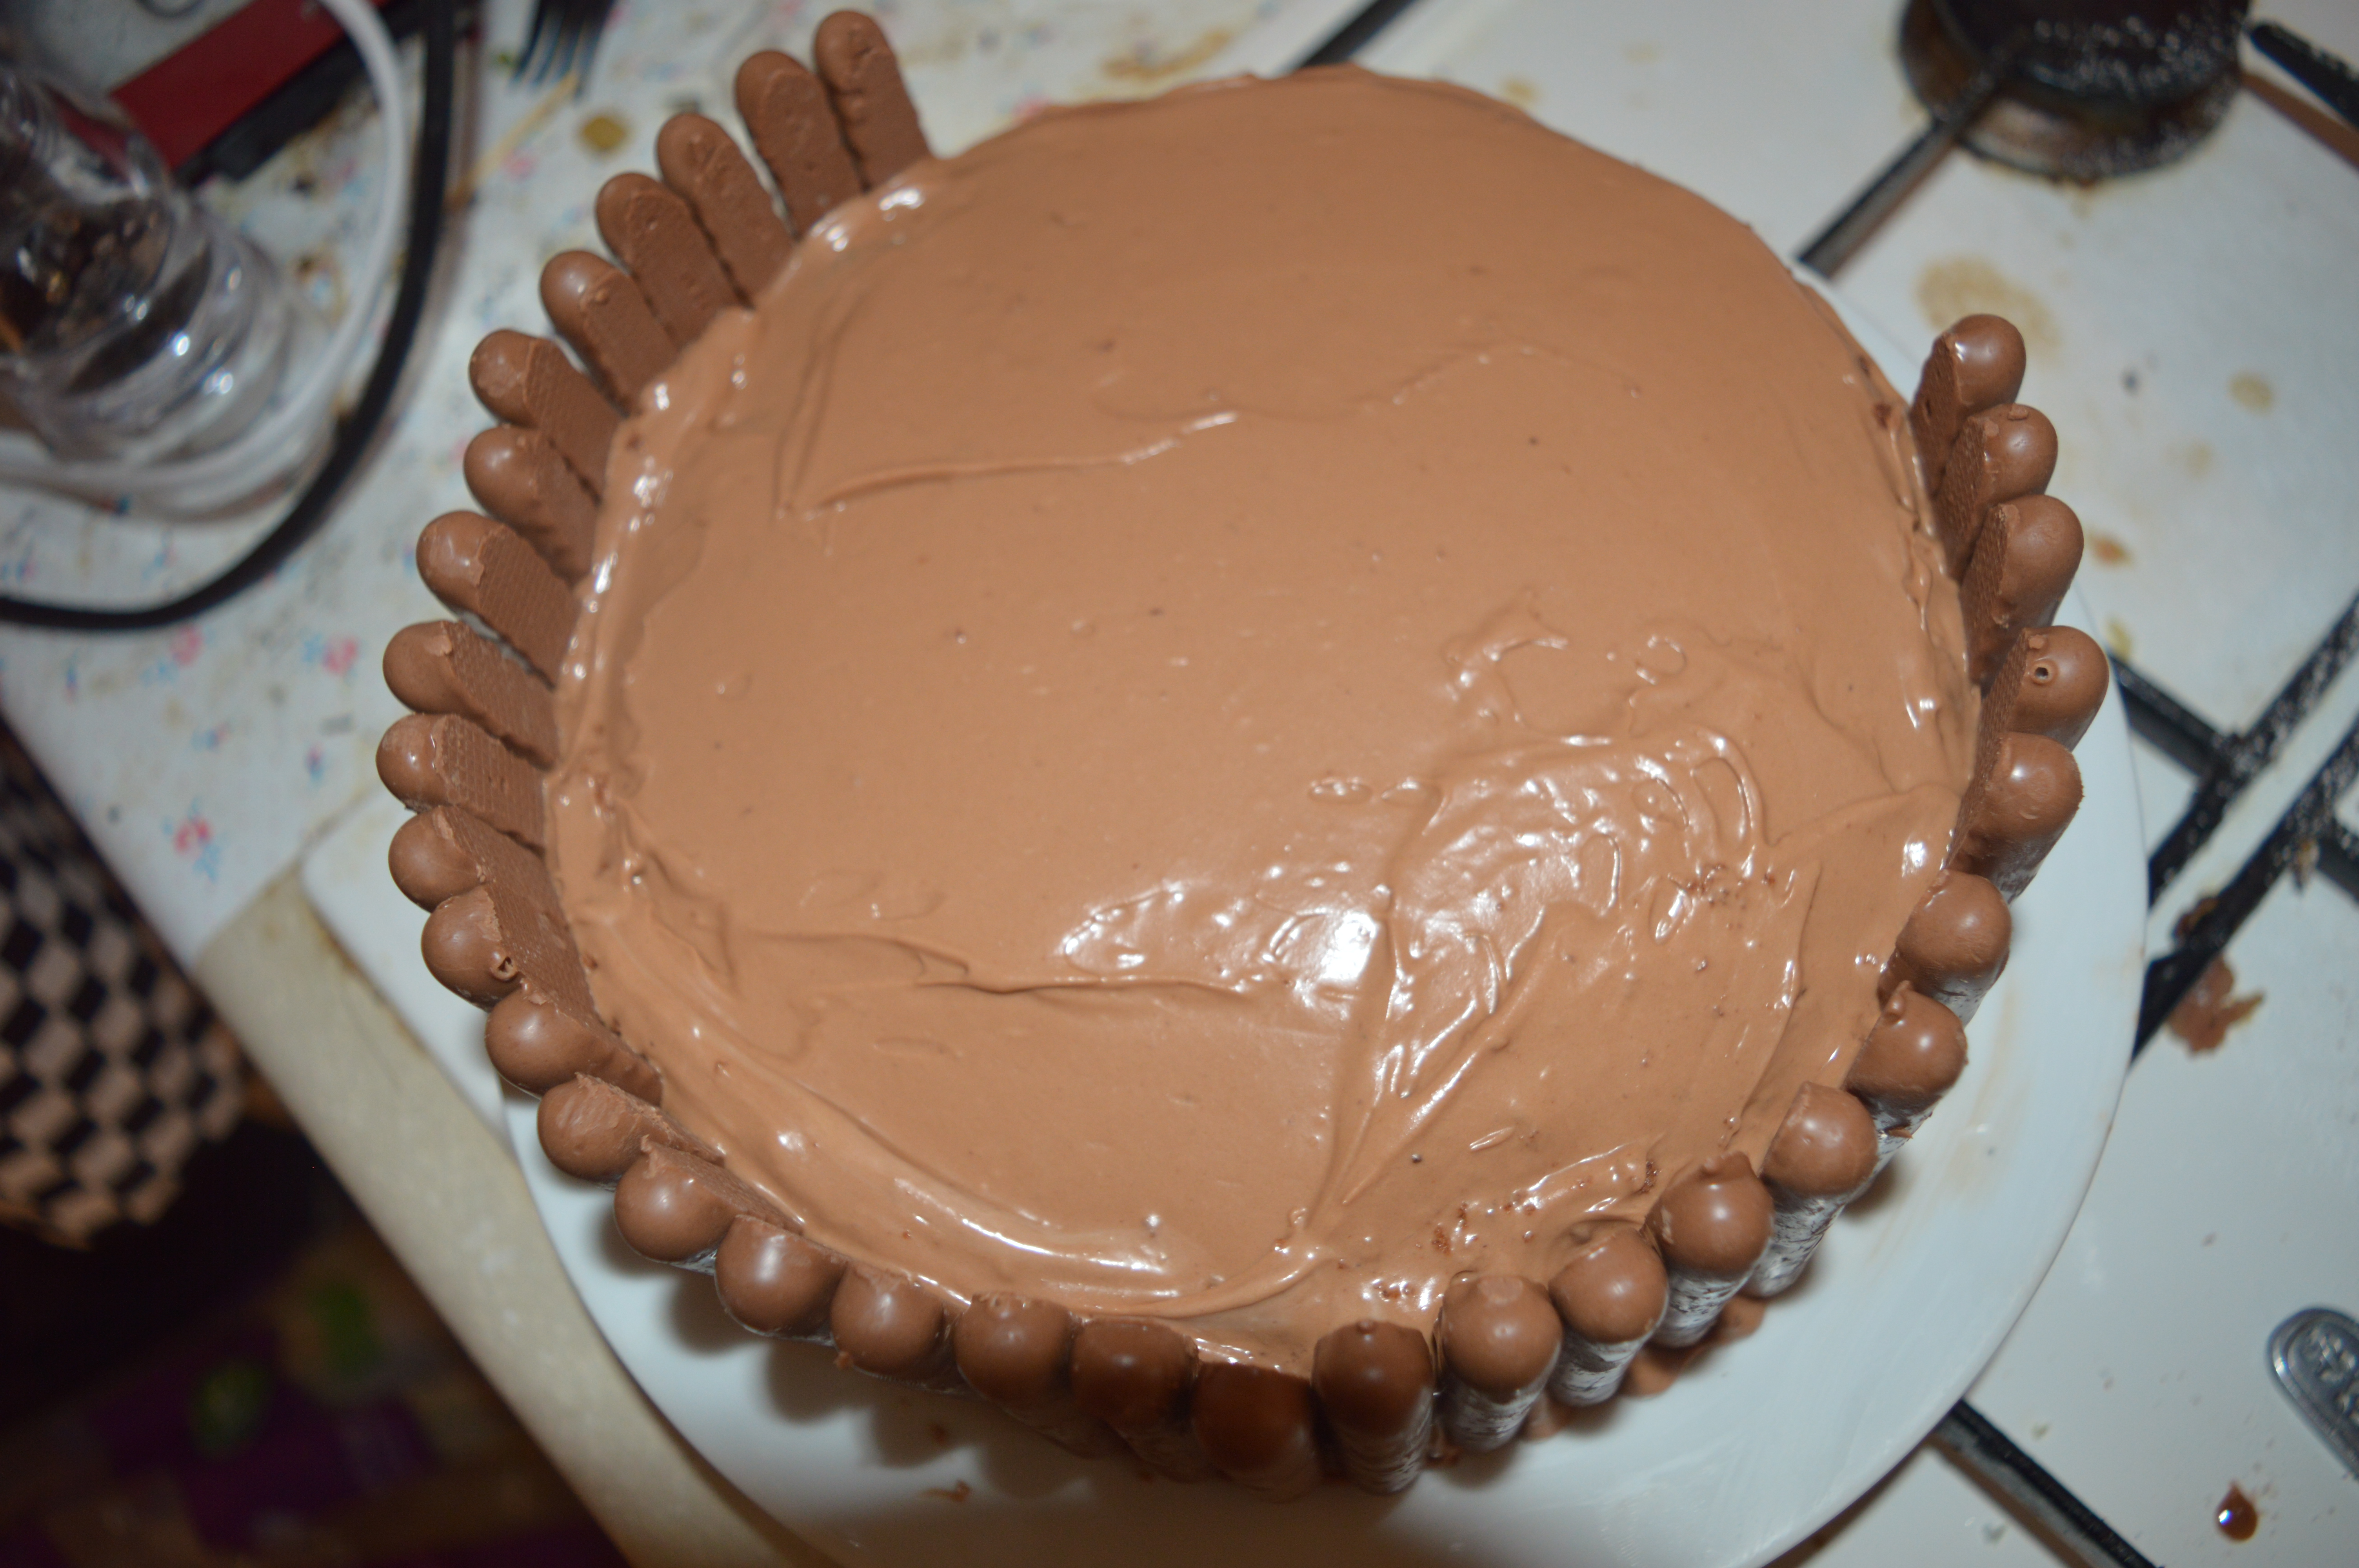
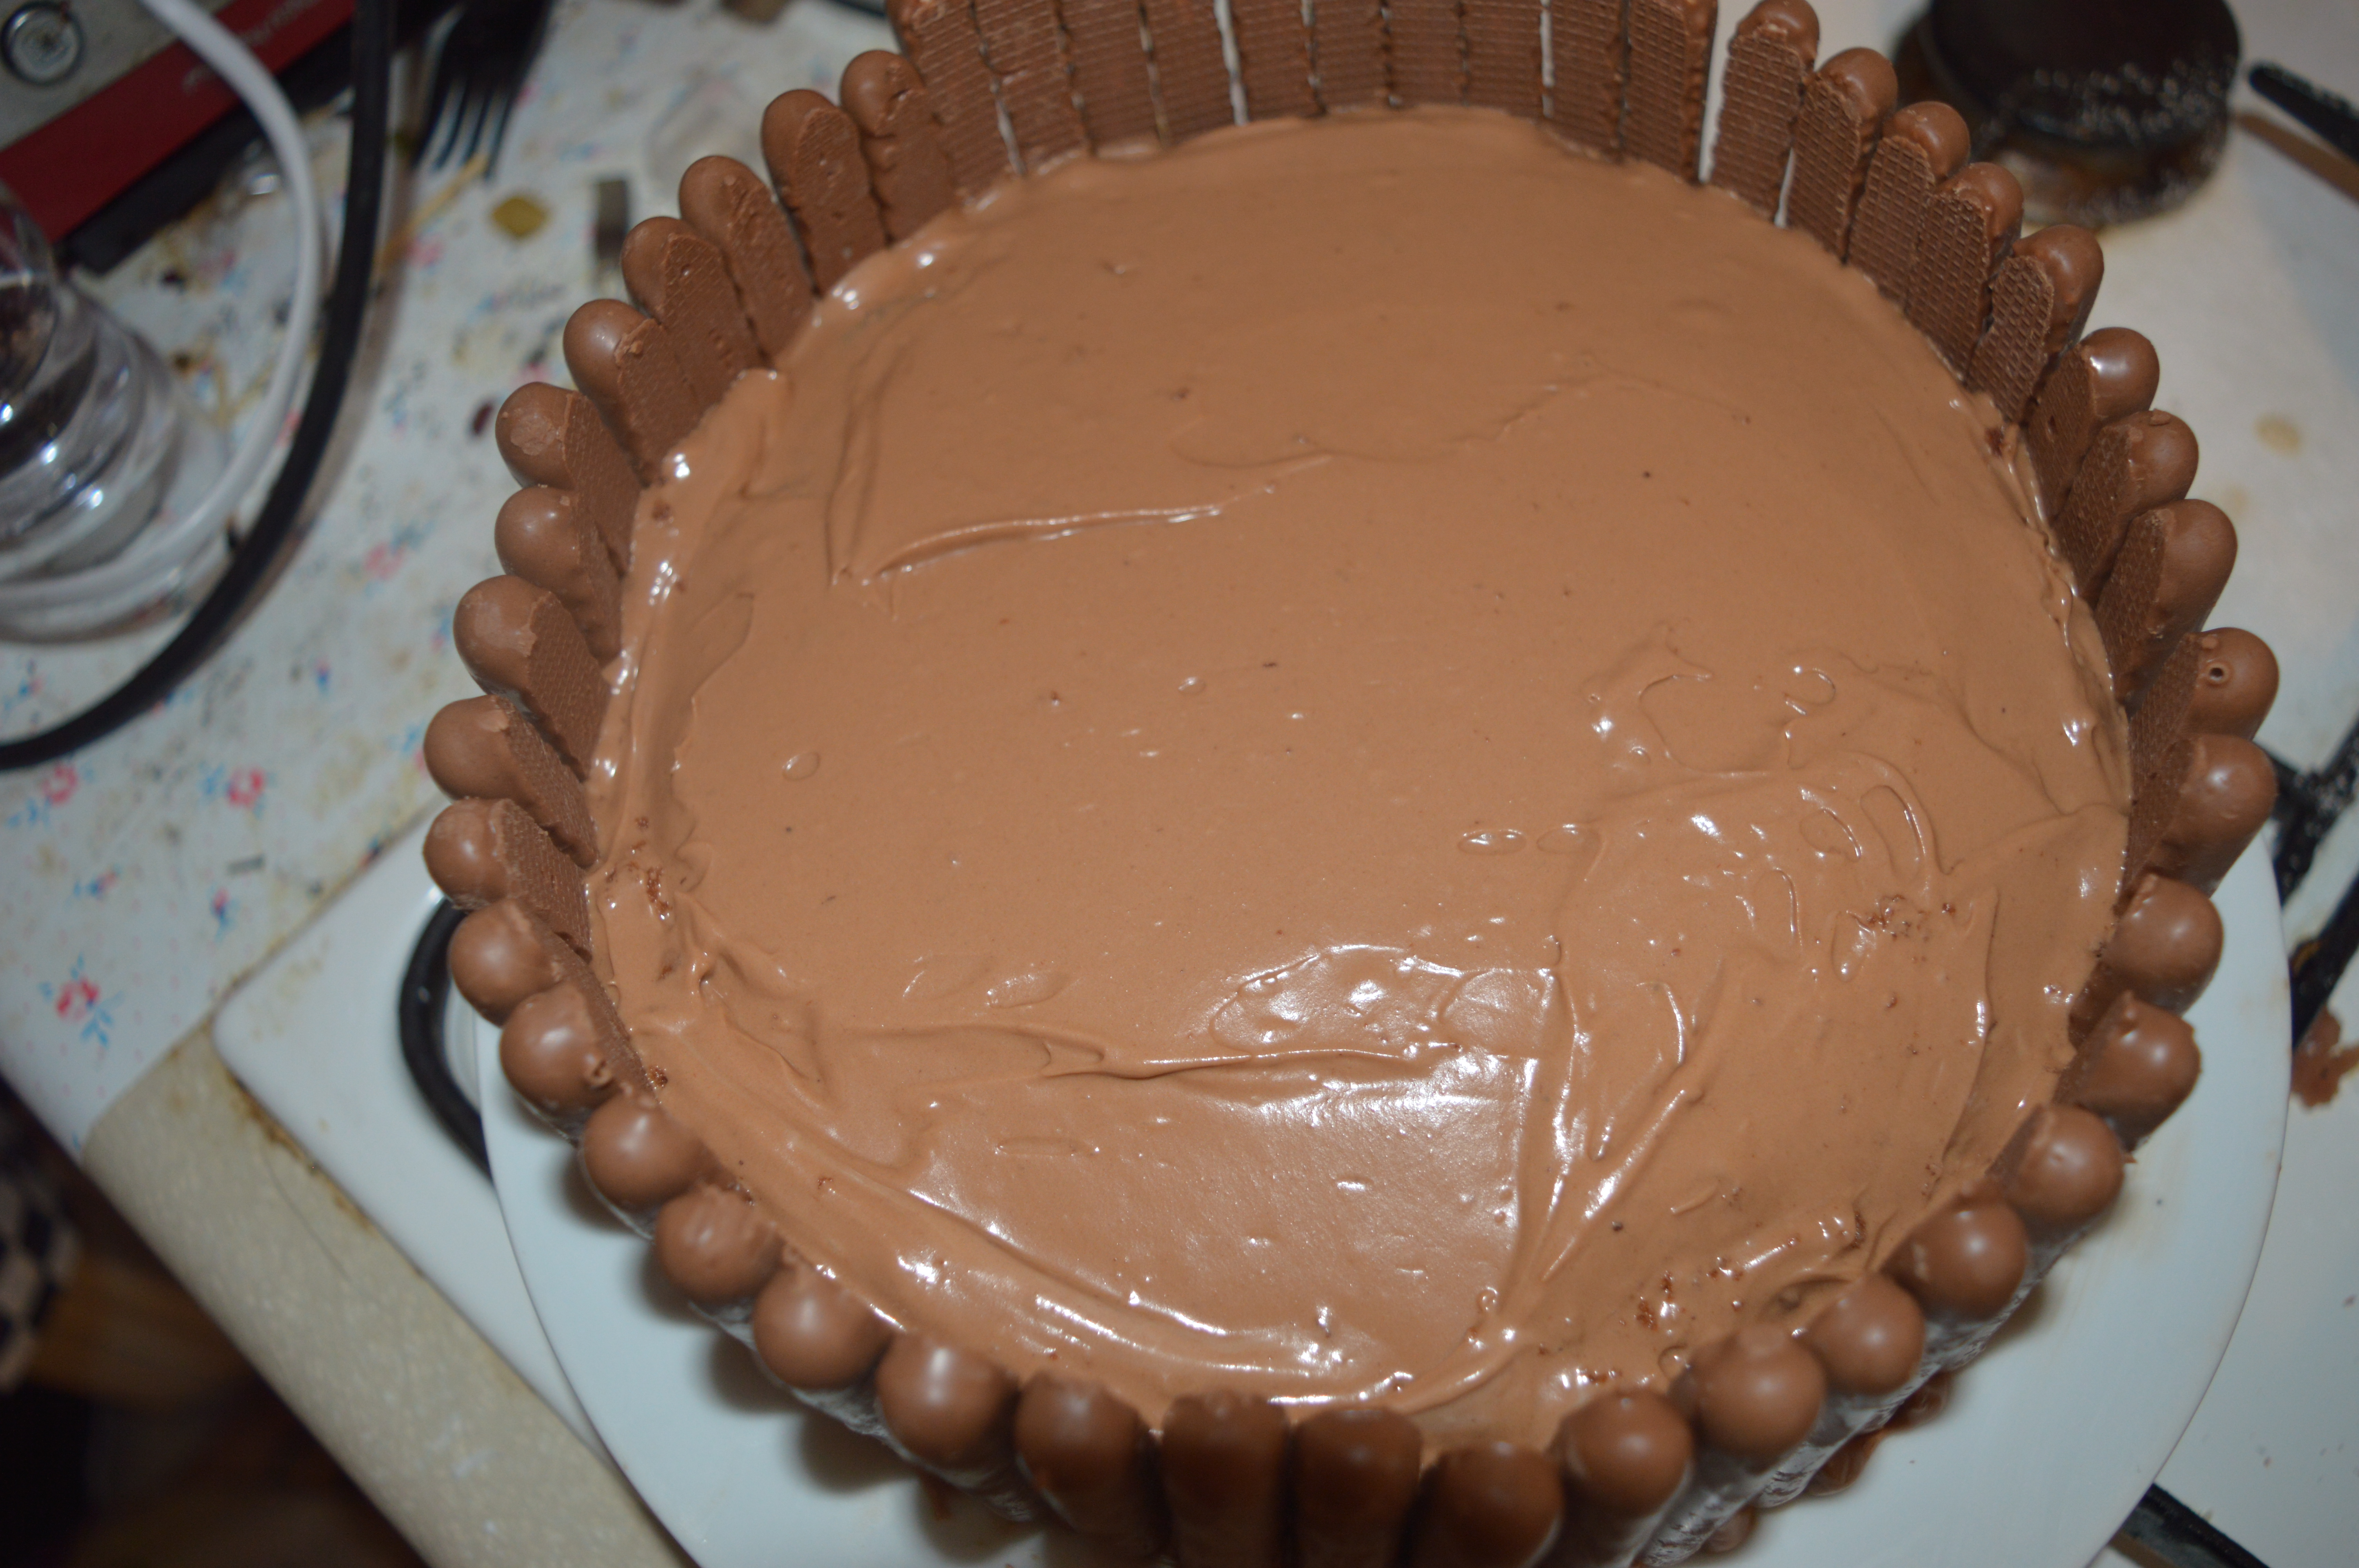
 Place the chocolate fingers tightly around the edges of the cake (this makes the cake look so tidy, you’ll feel impressed with yourself).
 Top with your sweets. I finished mine off by studding with the silver balls but any other cake decorations would work equally well.

 Place the cake in the fridge to firm up before serving so it doesn’t squidge too much when you cut it. I made this for my friend Miss S’s birthday party and it went down a storm. So this is possibly one of the best all ages birthday cakes you can make – perfect for adults and children alike.

